**for MAC users please download the already[ unzipped files from Sciebo](https://th-koeln.sciebo.de/s/e54xmqp822dlfjL/download)**
| open VirtualBox | |
| click on 'New' to open the dialogue to configure a new virtual machine | [](https://wiki.kisdtegg.de/uploads/images/gallery/2023-10/9jPimage.png) |
| use the following settings: give a name to your virtual machine don't select an ISO image choose 64bit Linux as the 'Version' | [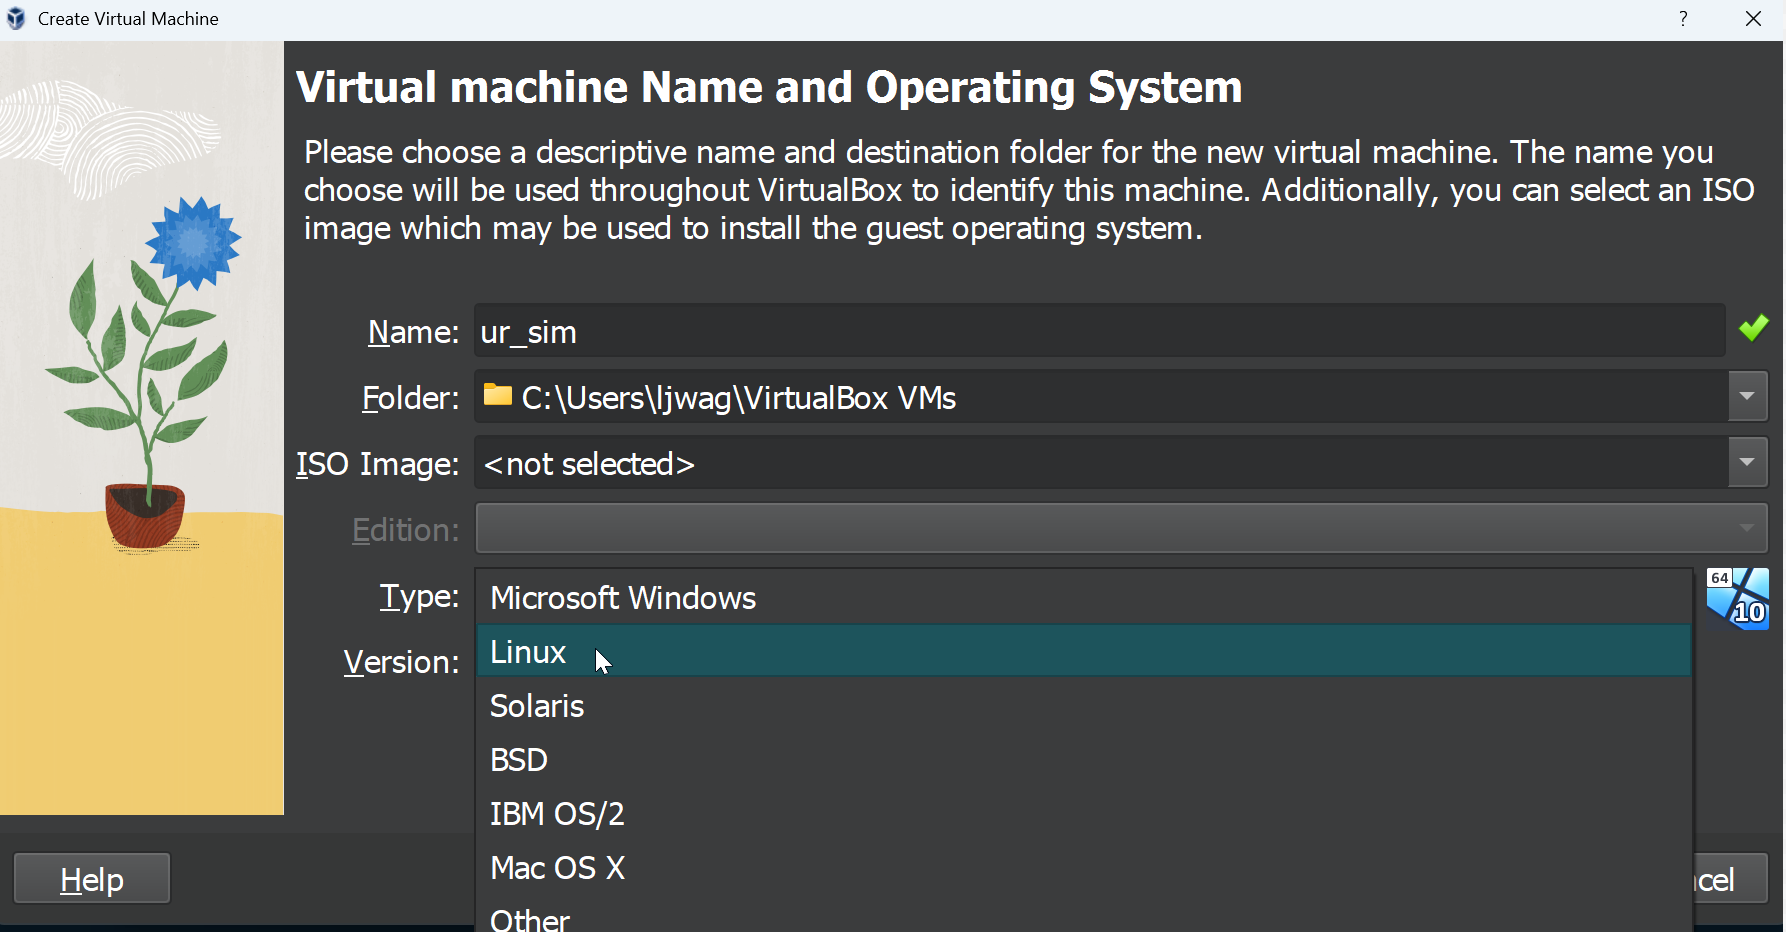](https://wiki.kisdtegg.de/uploads/images/gallery/2023-10/hXXimage.png) |
| 3. Select Memory size of 768 MB and press 'Next' | [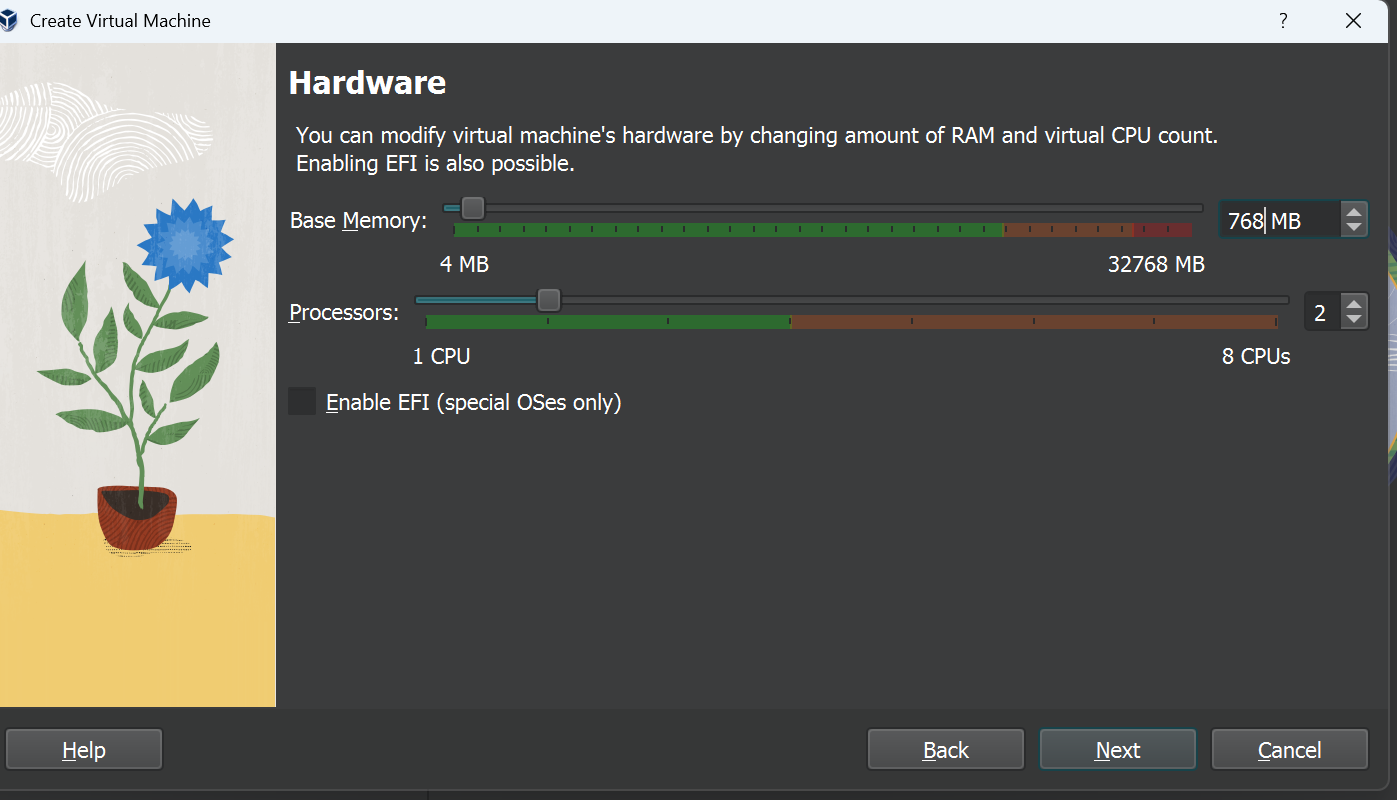](https://wiki.kisdtegg.de/uploads/images/gallery/2023-10/CIPimage.png) |
| click on 'Use an Existing Virtual Hard Disk File' | [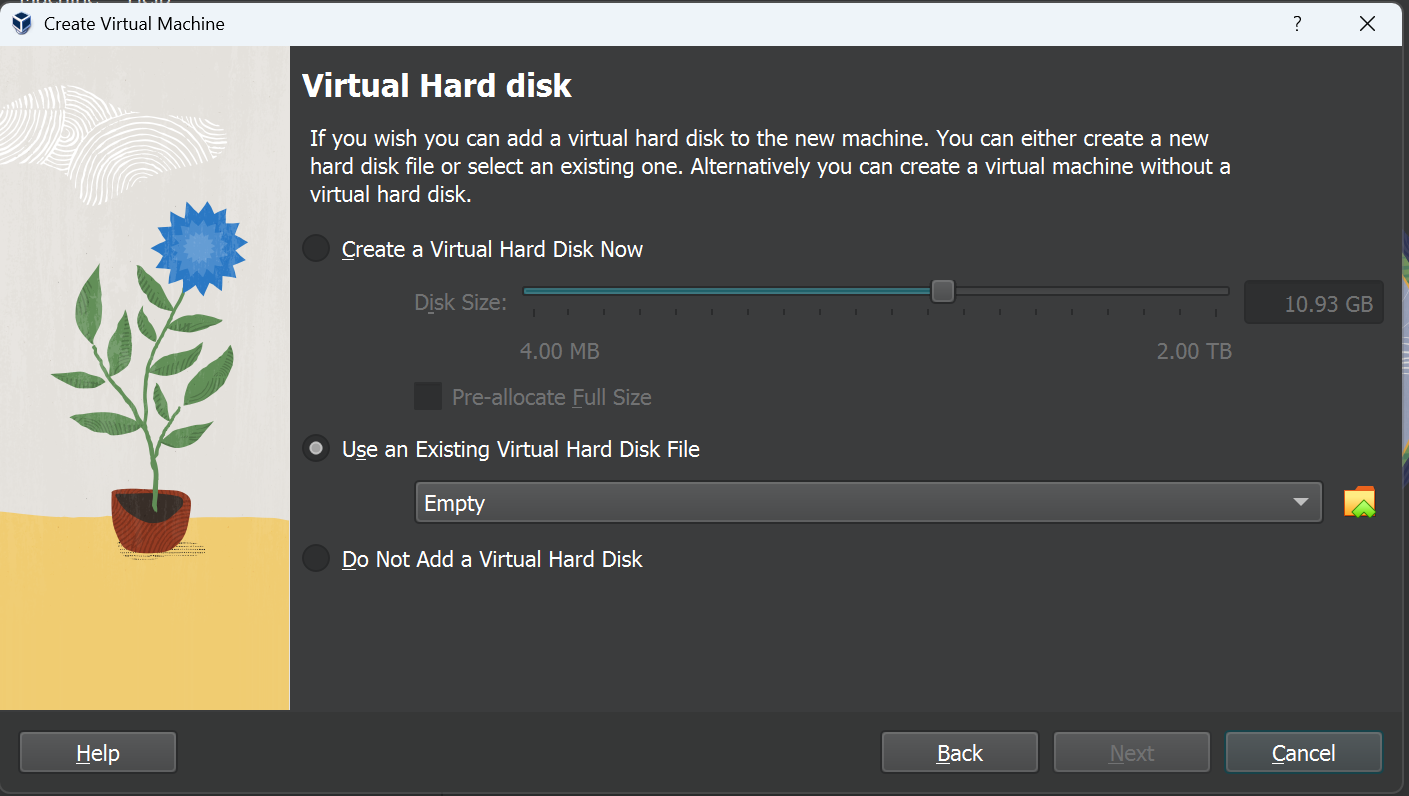](https://wiki.kisdtegg.de/uploads/images/gallery/2023-10/Rdpimage.png) |
| from the folder containing the extracted files, choose the first one: | [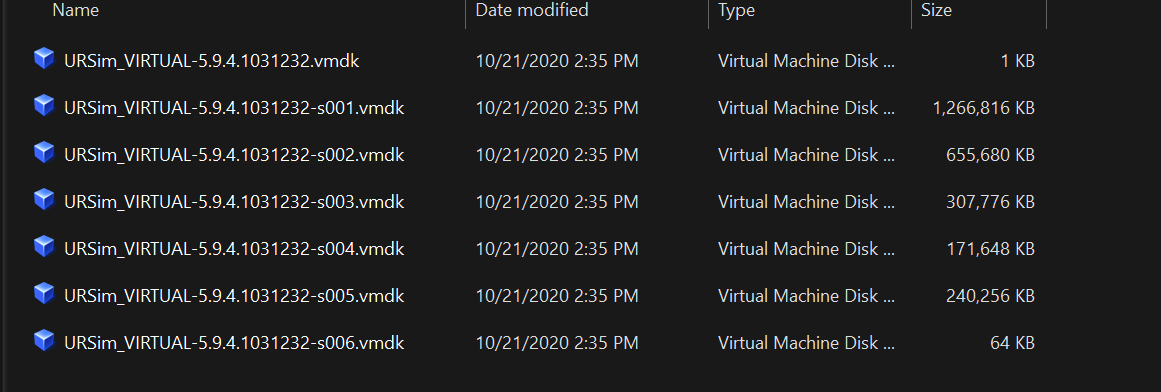](https://wiki.kisdtegg.de/uploads/images/gallery/2023-10/uQLimage.png) |
| click 'next' | [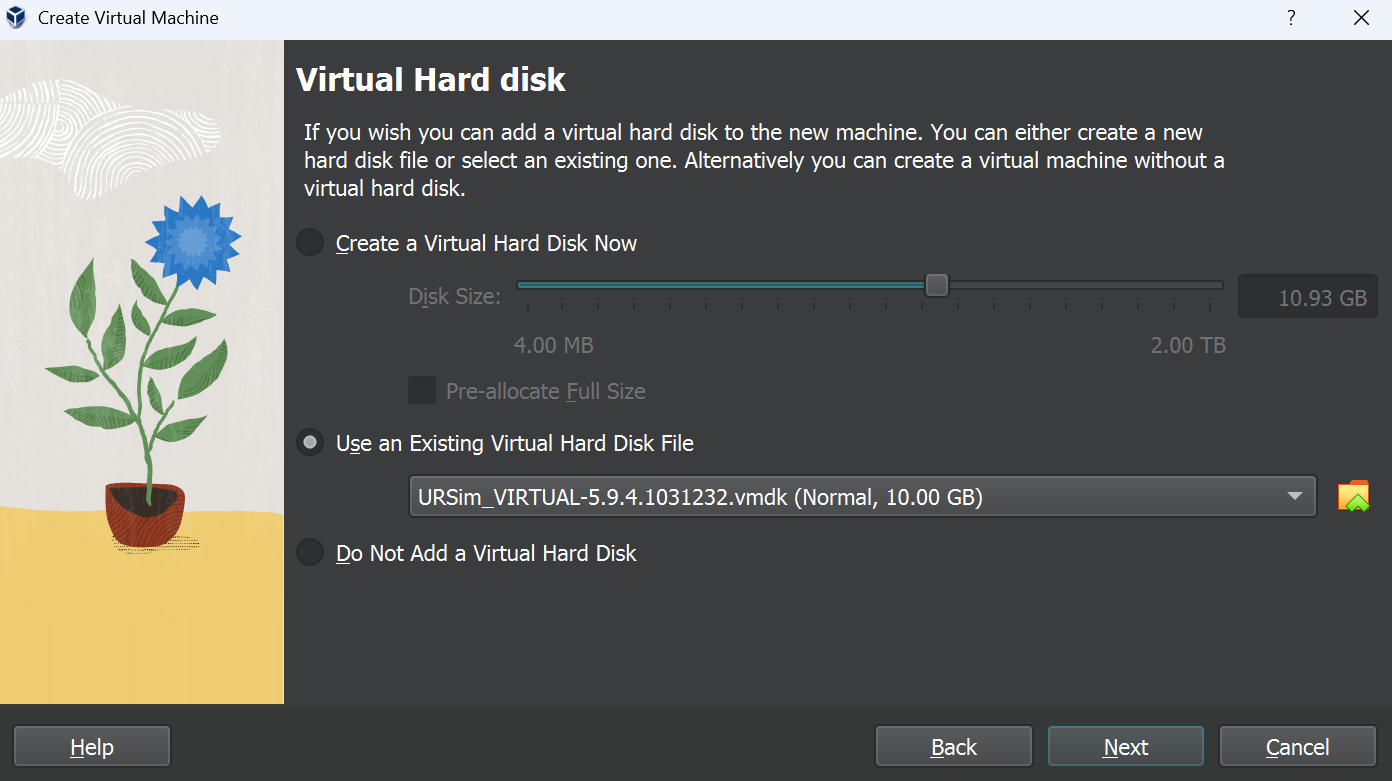](https://wiki.kisdtegg.de/uploads/images/gallery/2023-10/35Jimage.png) |
| 1\. go to the ⚙️settings and open the dialogue 2\. in the settings go to display 🖥️ and change the Graphics Controller to VBoxSVGA | [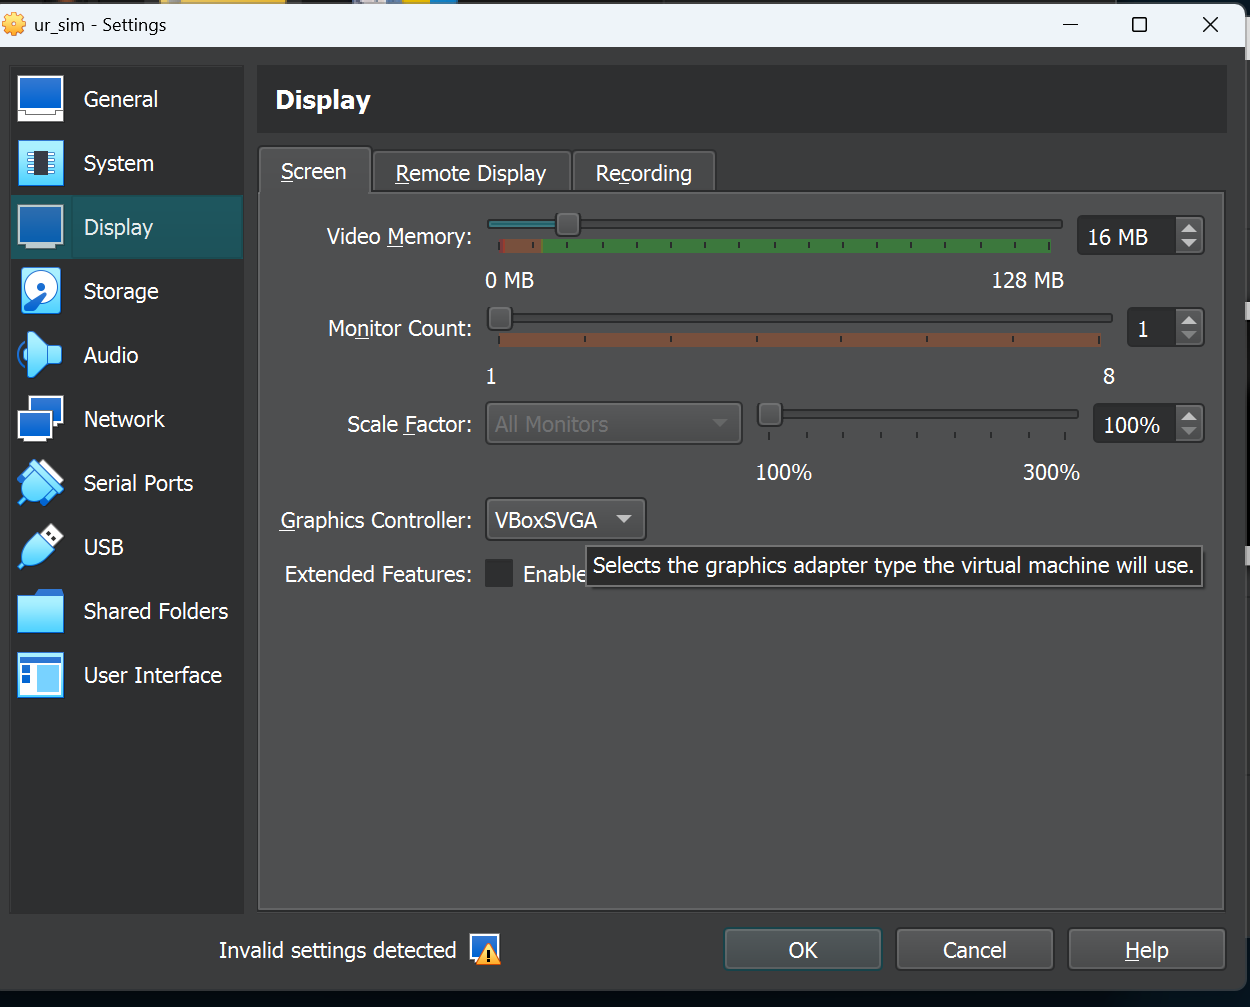](https://wiki.kisdtegg.de/uploads/images/gallery/2023-10/LOSimage.png) |
| open VirtualBox | |
| In the left corner click the icon choose File Manager | [](https://wiki.kisdtegg.de/uploads/images/gallery/2023-10/79zimage.png) |
| inside File Manager navigate to /home/ur/.config/lxsession/Lubuntu double click on the file named 'autostart' | [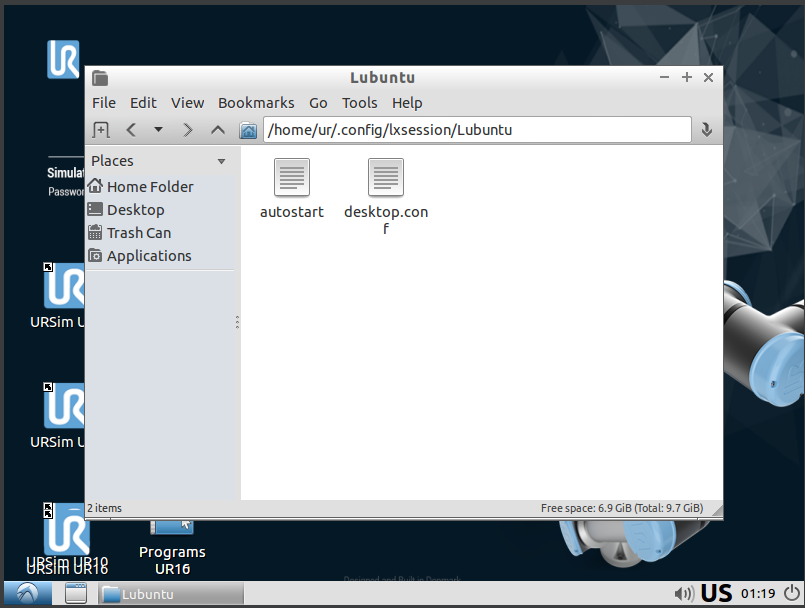](https://wiki.kisdtegg.de/uploads/images/gallery/2023-10/LJiimage.png) |
| add the following line: ``` xrandr -s 1536x864 -r 60 ``` click file --> save or ctr+s |  |
| click on the icon on the right bottom corner click on 'reboot' | [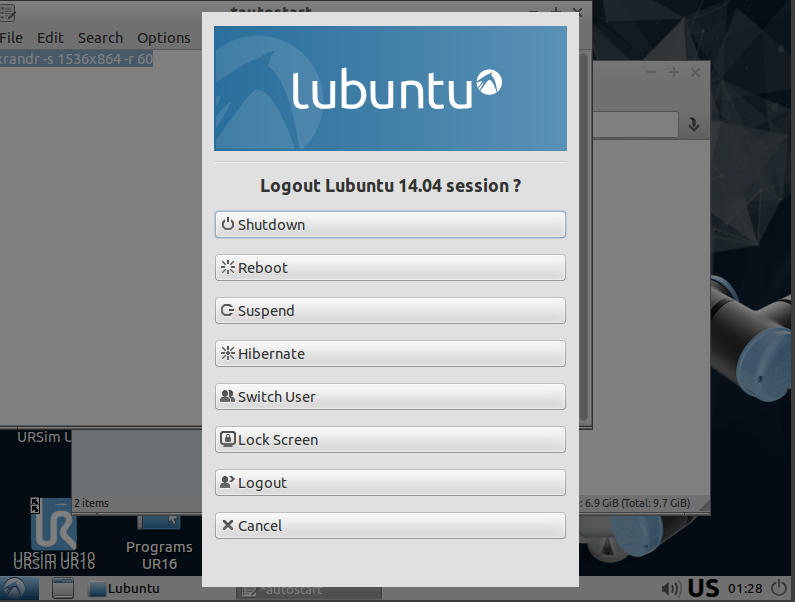](https://wiki.kisdtegg.de/uploads/images/gallery/2023-10/uXiimage.png) |
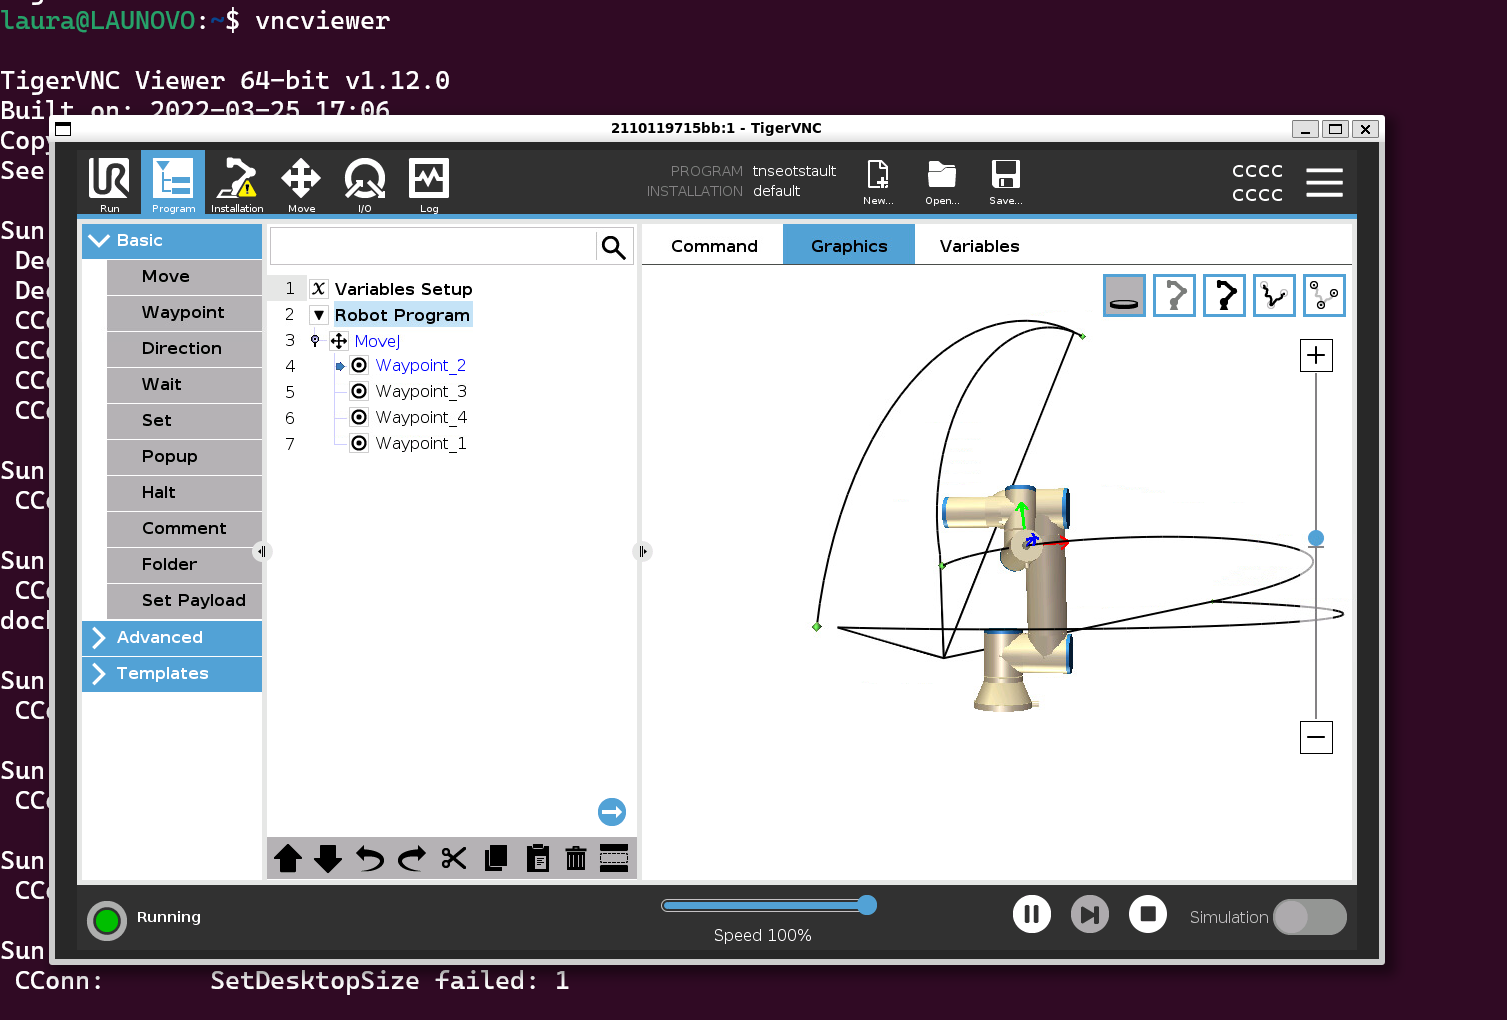
Best is to open the chromium-browser also in WSL2 and copy the ip or using a vinc client like TigerVNC
[](https://wiki.kisdtegg.de/uploads/images/gallery/2023-09/image.png) # MoveJ, MoveL and MoveP -| [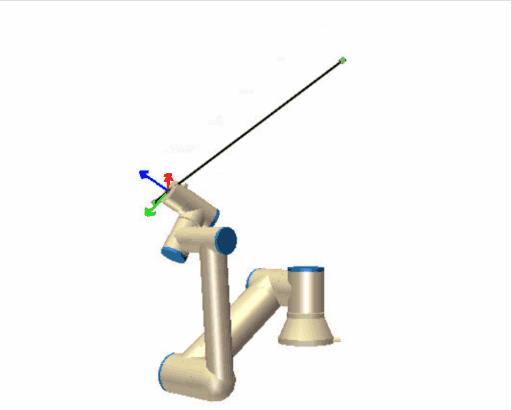](https://wiki.kisdtegg.de/uploads/images/gallery/2023-10/movel.gif) | **moveL (Move Linear):** - "L" stands for "Linear." - With the "moveL" command, the robot moves in a straight line from its current position to the target position. - Unlike "moveJ," where the focus is on the joints, "moveL" focuses on the path that the robot's end-effector (like its hand) takes. It moves linearly, meaning in a straight line. - Back to your arm analogy, using "moveL" is like moving your hand from point A to point B in a straight line, which might require more complex, coordinated movements from your shoulder, elbow, and wrist. |
| [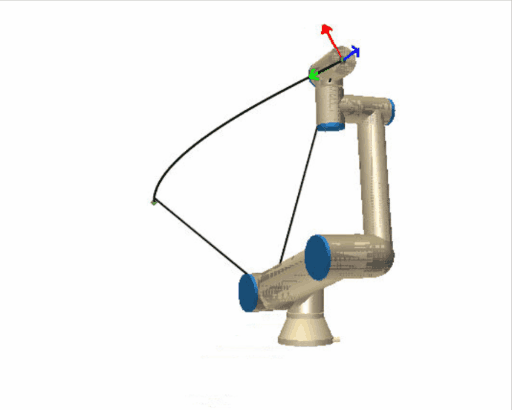](https://wiki.kisdtegg.de/uploads/images/gallery/2023-10/movej.gif) | **moveJ (Move Joint):** - "J" stands for "Joint." - In a "moveJ" command, the robot moves from its current position to the target position by rotating its joints. - The primary focus here is on the joints' movements: each joint reaches its target angle to achieve the desired position. This might not be the straightest path, as the robot prioritizes the joints' ease of motion. - Imagine your arm is the robot arm. If you were to use "moveJ," you'd move each joint (shoulder, elbow, wrist) individually to place your hand in the desired position, regardless of the path your hand takes through the air. |
| **moveP (Move Process):** - "P" stands for "Process." - The "moveP" command is a bit more complex. It's used for a more controlled movement, where the robot moves **steadily** ideal for a process task, like gluing, welding, or painting. - In the arm analogy, "moveP" would be like drawing a smooth, continuous line with a marker. Your hand (the end-effector) needs to move at a **consistent speed** and path to create the best line, even if that means your arm's joints (the robot's joints) need to adjust in complex ways. | |
In our case the WI-FI's name is '**ROOM\_240**'
In our case the device running the broker is an RaspberryPi 🍓with the IP **192.168.0.168**
| Setup a new connection to a "broker" in our case this is the Raspberry Pi 🍓 connected to the Robot. Provide a name and leave the username and password fields blank. | [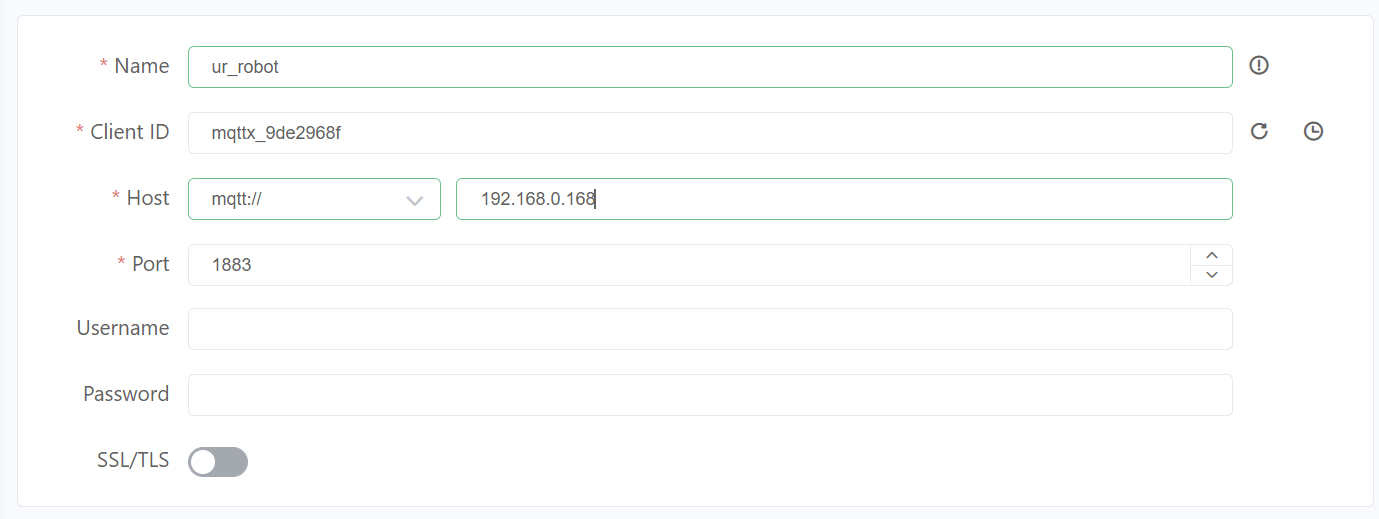](https://wiki.kisdtegg.de/uploads/images/gallery/2023-10/xRdimage.png) |
| Click on "connect" and you'll see the joint positions coming in and constantly updated! | [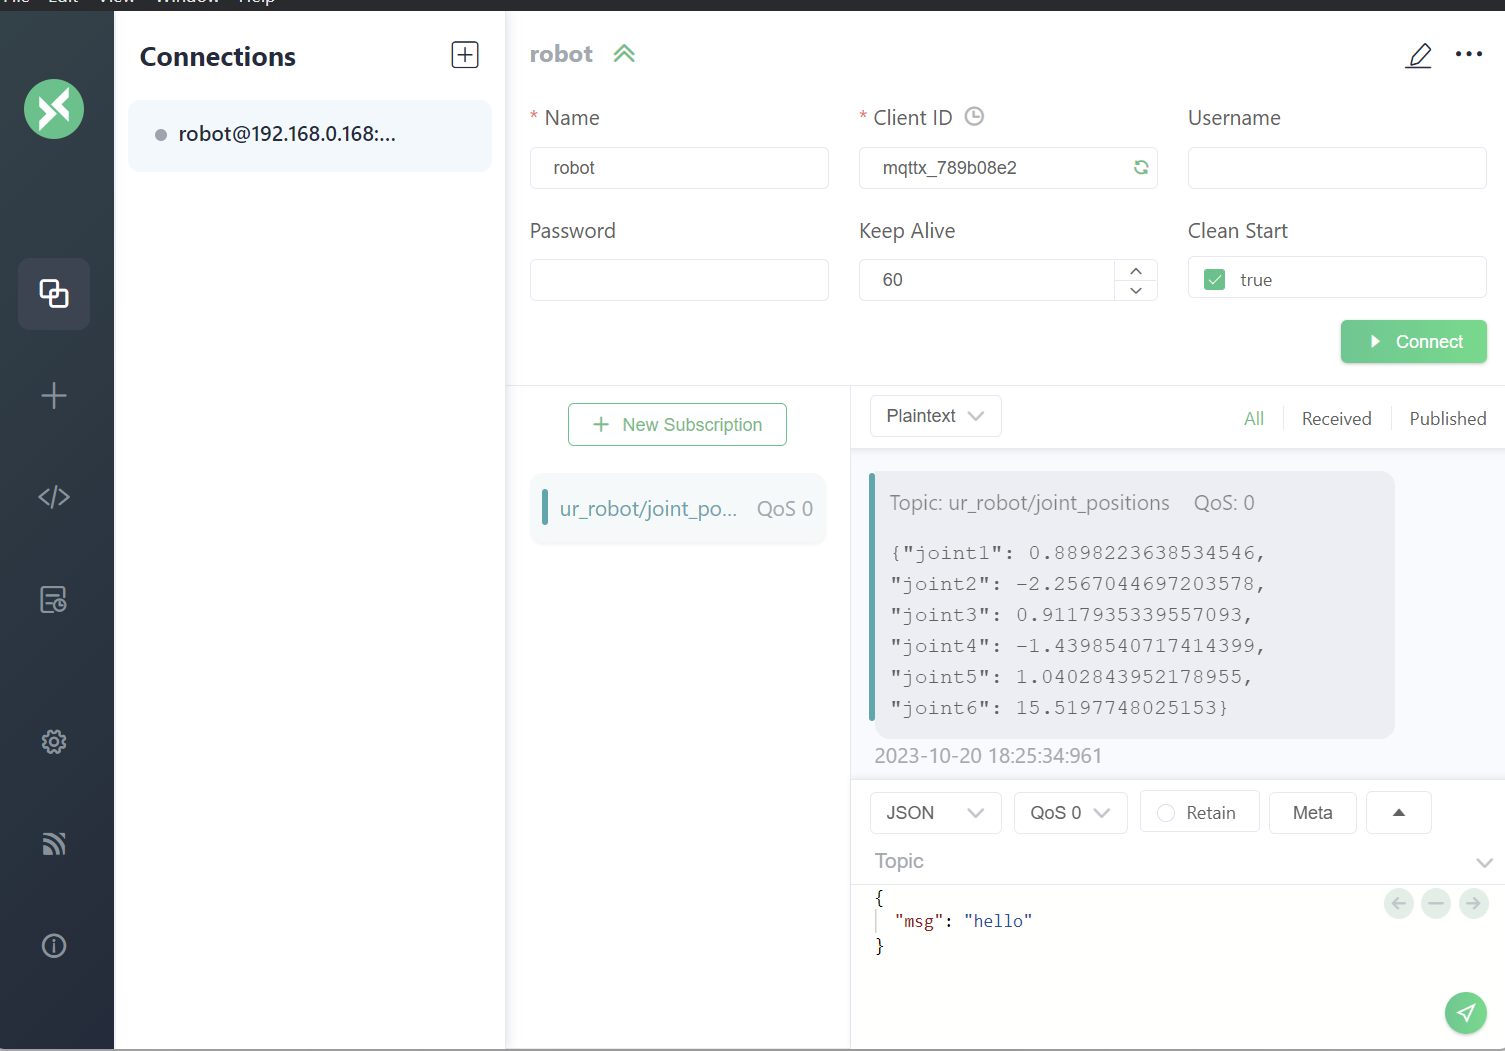](https://wiki.kisdtegg.de/uploads/images/gallery/2023-11/image.png) |