Installation: ComfyUI on KITeGG Server
1. Clone ComfyUI GitHub Repository
1. Open a terminal
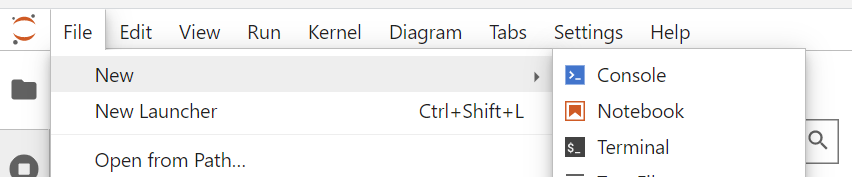
2. Download the ComfyUI repository
In Terminal, run this command:
git clone https://github.com/comfyanonymous/ComfyUIIn Terminal, run these commands (one after the other):
cd ComfyUI/custom_nodesgit clone https://github.com/ltdrdata/ComfyUI-Manager2. Run ComfyUI
2.1. Adapt Notebook for running it on the KITeGG Server
Path: ComfyUI/custom_nodes/ComfyUI-Manager/notebooks/comfyui_colab_with_manager.ipynb
2. Make following changes to the notebook (pink Markups are going to be changed):
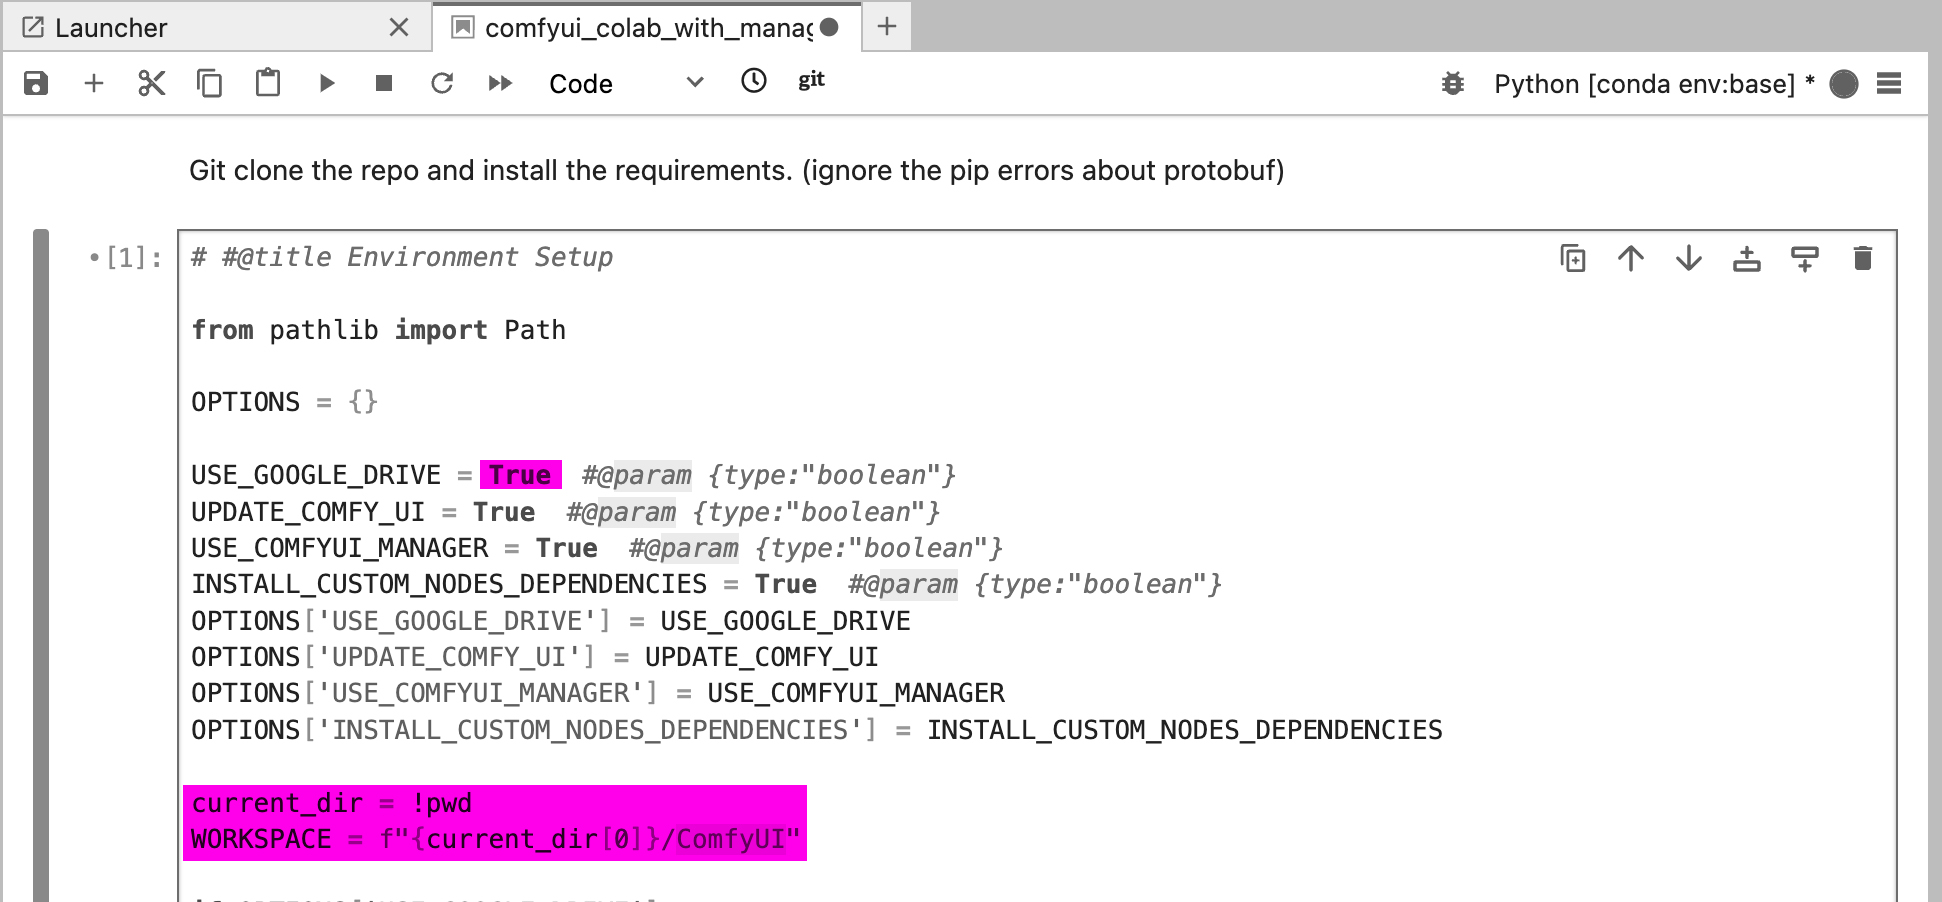
a) Disable Google Drive Connection (Set USE_GOOGLE_DRIVE = "False")
Delete: USE_GOOGLE_DRIVE = True #@param {type:"boolean"}
Paste: USE_GOOGLE_DRIVE = False #@param {type:"boolean"}
b) Change Workspace Location (Set WORKSPACE = '~/ComfyUI')
Delete: current_dir = !pwd
Delete: WORKSPACE = f"{current_dir[0]}/ComfyUI"
Paste: WORKSPACE = '~/ComfyUI'
3. Check and Run
a) Make sure the code looks like this:
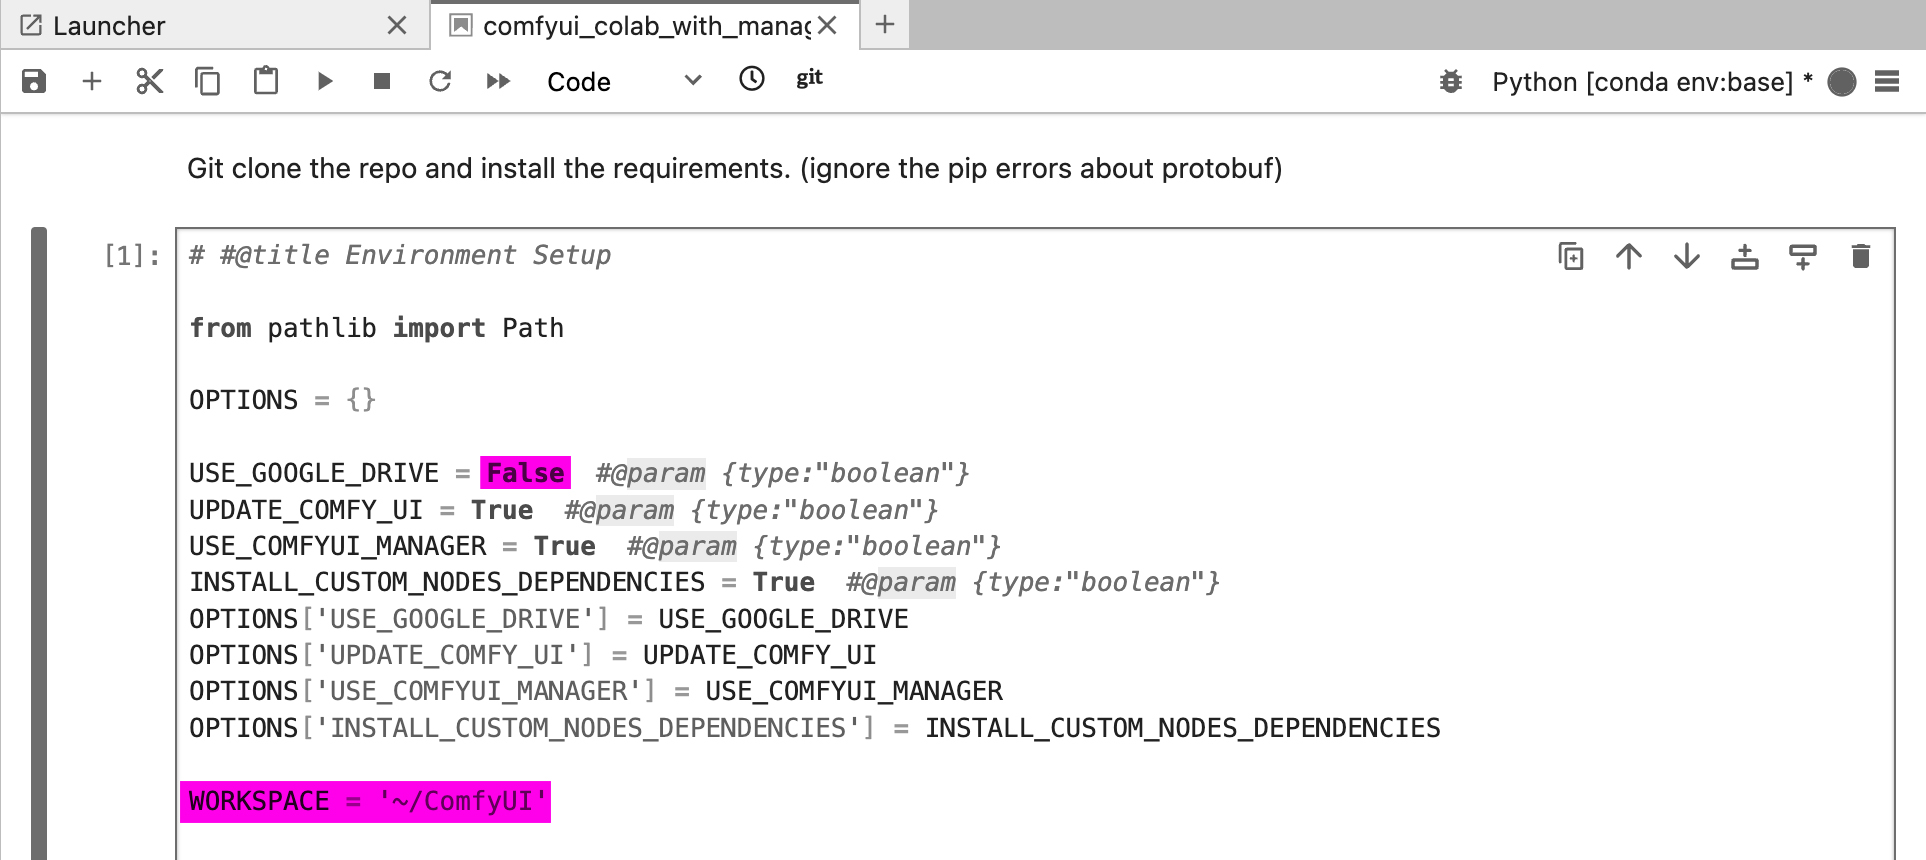
b) save the notebook changes ⌘S
c) run the cell ⇧↵
2.2. Install Models
1. Go to the Second Cell
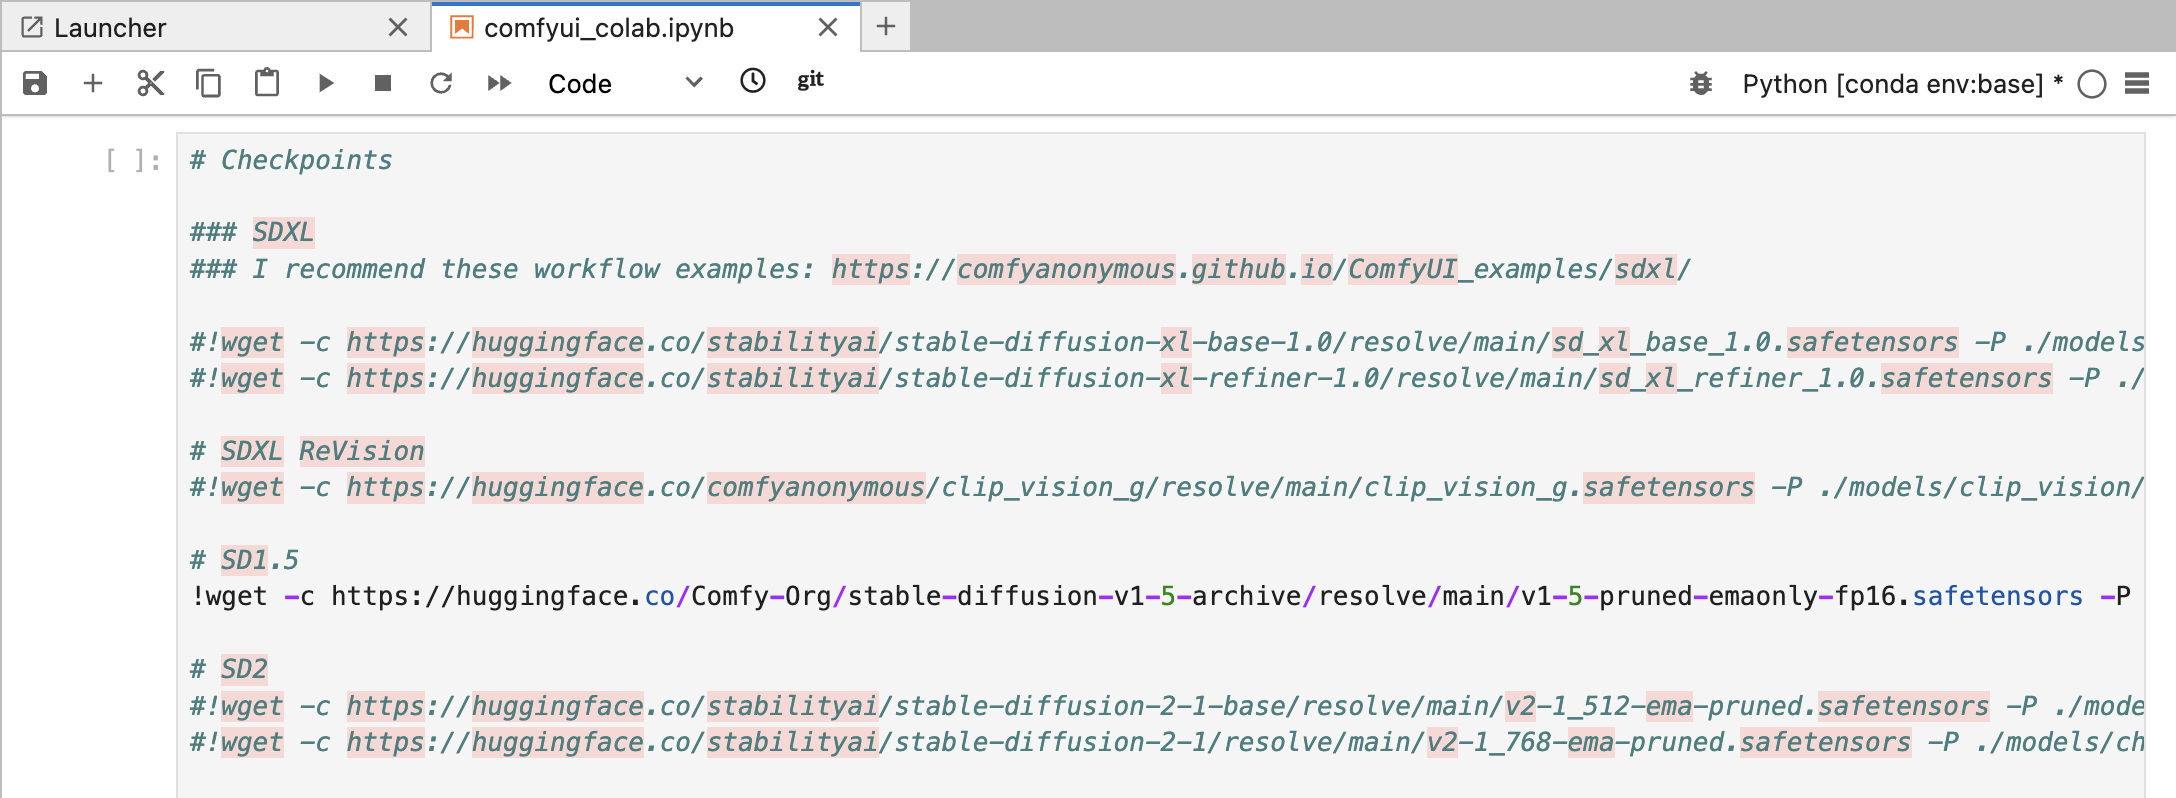
2. Uncomment the models you want to install (delete the "#" in front of the lines)
you can always install more models later
3. run the cell ⇧↵
2.3. Install ControlNet Preprocessor
open Terminal, paste and run code:
cd ComfyUI/custom_nodes/git clone https://github.com/Fannovel16/comfyui_controlnet_aux/cd comfyui_controlnet_auxpip install -r requirements.txtif this does not work, check for updates in the Installation guide at https://github.com/Fannovel16/comfyui_controlnet_aux?tab=readme-ov-file#alternative.
2.4. Open Comfy UI
0. (If you did 2.4.: Go back to the Notebook)
1. Run the last cell "ComfyUI with cloudflared"
2. In the terminal code, search for the URL to access ComfyUI (https://xxxx-xxxxx-xxxx.trycloudflare.com) and copy it to your browser.
3. Always stop your server (important)!
At end of use, please do not forget to stop your server. It uses a lot of energy. Thanks:)
To do so go to File > Hub Control Panel > Stop My Server
Hints
Opening ComfyUI after initial installation
(no Terminal needed)
-
Open the Notebook like before
Path:
ComfyUI/custom_nodes/ComfyUI-Manager/notebooks/comfyui_colab_with_manager.ipynb -
Run All Three Cells (wait for Processes to complete before running next cell)
add more models by uncommenting them in the 2nd cell if you like
-
In the terminal code of the last cell, search for the
URL to access ComfyUI(https://xxxx-xxxxx-xxxx.trycloudflare.com) and copy it to your browser.
Tutorial recommendation: Olivio Sarikas - Learn ComfyUI Playlist (1 - 8)
No Comments