custom environments
Creating the environment
1. Open a new Terminal
2. in case the environment should be available permanently
conda config --add envs_dirs /home/jovyan/.conda_envs3. create environment with conda
conda create --name myenv4. initialize bash shell
conda init bash5. restart shell
source ~/.bashrc6. activate environment:
conda activate myenvActivating an environment
these steps need to be executed to activate an environment
1. initialize bash shell
conda init bash2. restart shell
source ~/.bashrc3. activate environment:
conda activate myenvExporting environment to custom Kernel image
First, activate your virtual environment (shell)*previous step* and runinstall this:ipykernel:
pip install --user ipykernel
We need to manually add the kernel if we want to have the virtual environment in the Jupyter Notebook. That is why we need to add it by running this code.
python -m ipykernel install --user --name=myenv
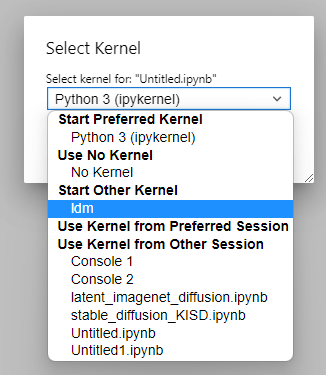
when creating a new notebook, you can choose your new kernel image
If you have finished with the virtual environment and did not need it anymore, you could remove it using this code.command:
jupyter kernelspec uninstall myenv