Creature with hinge joints
Step 01 - download unity package
- Create a new
3DUnity project 2021.3.15f - If you want to follow along, download the base scene unitypackage
- Import the unity package
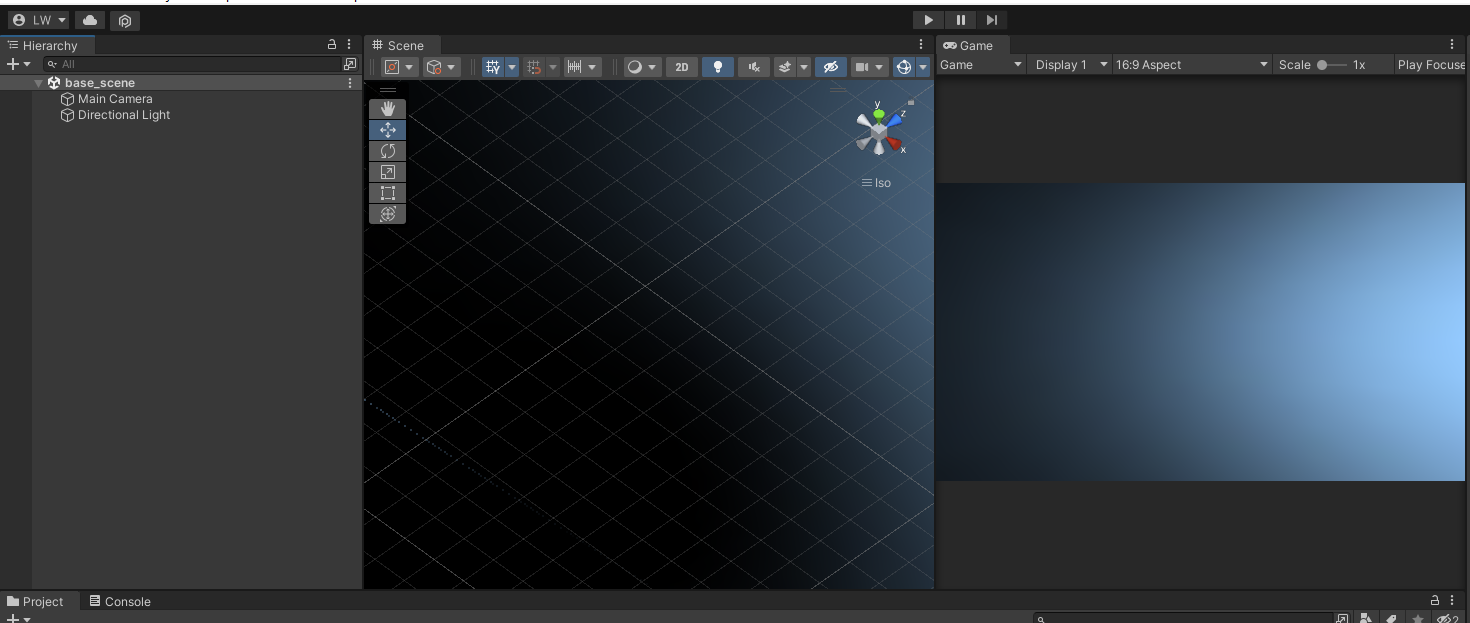
- open base scene
Step 02 - Creature Script
- create a new script in the Folder 'Scripts'
- Call it "RandomSnake"
- copy the following code into it
Step 03 - Prefabs
- Create a prefab for the head
- Create a prefab for the body segments
- add a rigidbody to both the head and the body prefabs
"use gravity" and "use kinematic" must be disabled for the rigidbody componens!
Step 04 - Creature Prefab
- Add an empty GameObject to the scene at 0,0,0 (Camera should be at 0,0,-10)
- Rename it "Creature"
- Add the "RandomSnake" Script to the Creature GameObject in your scene
- In the Inspector assign the "head" and "segment" prefabs respectively
- insert a segment count and values for speed, damper, and direction change time
- Try out which values work best
- When good values are determined, drag the Creature GameObject into Assets/Prefabs to make it a prefab
explanation for hinge joint settings
In the given script, the spring parameter affects the stiffness of the spring component within the HingeJoint that connects the segments of the creature. The spring force tries to maintain the joint angle at a target angle, which is initially set to zero. When the joint angle deviates from the target angle due to the movement of the connected bodies, the spring force acts to bring the joint angle back to the target angle.
The higher the value of the spring parameter, the stiffer the spring will be, and the more force will be exerted to maintain the joint angle at the target angle.
A higher spring value will cause the segments to maintain their relative positions more tightly, leading to a more rigid movement. On the other hand, a lower spring value will make the segments more loosely connected, allowing them to deviate further from their original positions relative to each other, leading to a more flexible movement.
Step 05 - Spawn Location
- Create a new empty GameObject and rename it to SpawnLocation
- Assign the SimpleSpawn script
- Adjust the SimpleSpawn script to add lifetime and fade the material at it's end
TASK:
Create 3D Models for the head and segment prefabs with a 3D software of your choice. Import them, set them up as prefabs and assign them in the Inspector.
Alternatively you can also apply your own design of a creature by setting up and importing a rigged animation, like in the example with the Fish from last week, or create an entirely different script with different behavior.