Unity ML Agents
Downloads
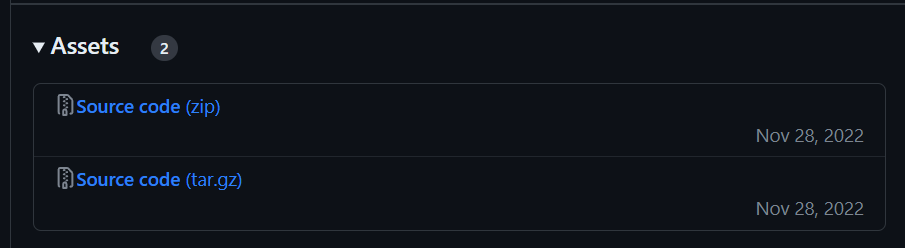
Download the latest release from this Github page
unzip it to C:\Users\YOUR USERNAME\ (Windows)
For Linux and Mac save unzip it to 'home' directory
now you will have a folder there called: ml-agents-release_20
Installations: Anaconda and Python
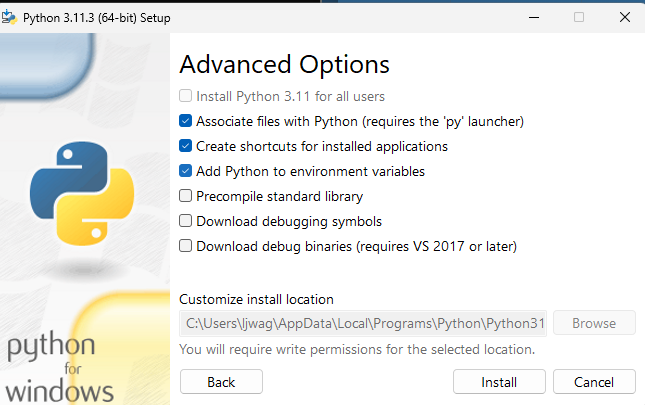
Anaconda itself is a Python distribution, but it is not recommended to add it to path. We install Python after our Anaconda installation so that python commands can be executed systemwide, but conda commands only when using conda shell, to prevent any interference with other applications using Python.
Conda environment configuration
create conda environment
conda create -n ml-agents python=3.8
activate conda environment
conda activate ml-agents
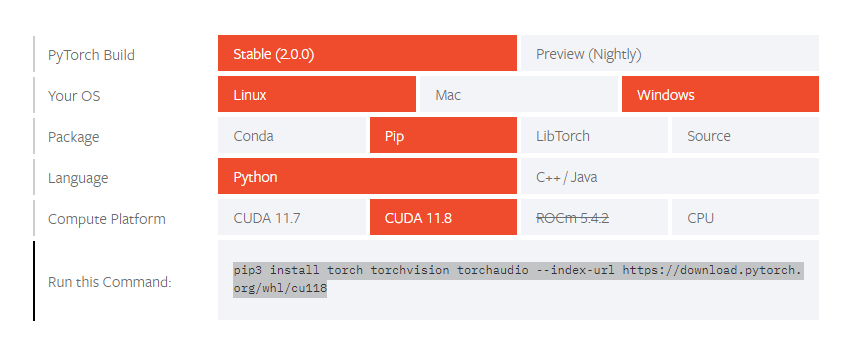
install pytorch
install Unity ML Agents:
pip3 install -e ./ml-agents-envspip3 install -e ./ml-agents
Downgrade protobuf!
pip install protobuf==3.20
Unity project configuration
Create a new unity 3D project with an editor version later than 2020 here I use 2021.03.15f1
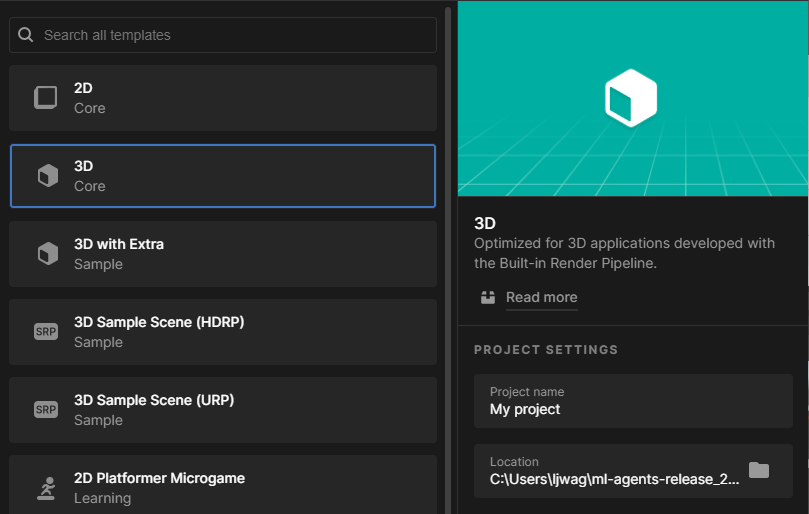
Under "Location" choose the ml-agents-release-20 folder that you have in your home directory.
in the newly created Unityproject Install the ML Agents Unitypackage:

Go to window -> package manager -> + -> install from disk
navigate to C:/Users/ml-agents-release-20/ml-agents-release-20/com.unit.ml-agents and click on the package.json
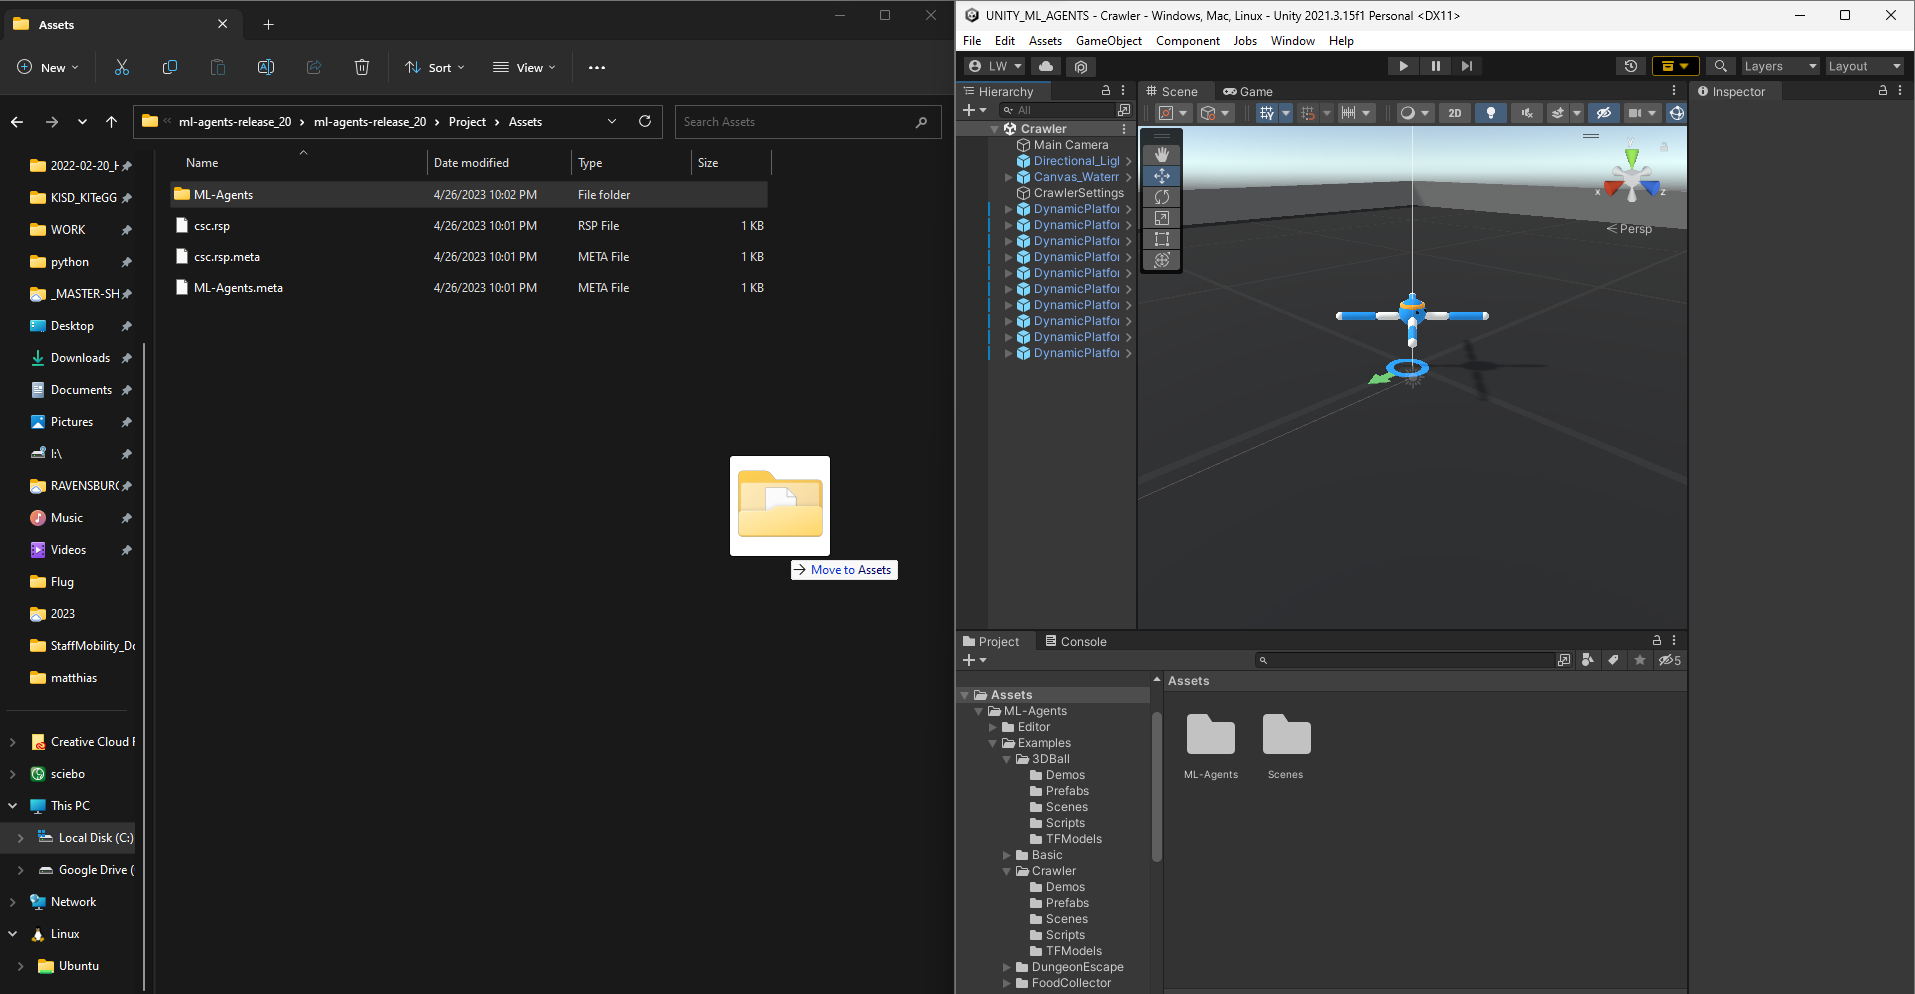
Copy the ml agents assets to your unity project
in your file system navigate to
C:\Users\YOUR_USERNAME\ml-agents-release_20\ml-agents-release_20\Project\Assets
find the folder ML-Agents 📁 and drag it into your newly created and open unity project into the 'Assets' window.