Installation: ComfyUI on KITeGG Server
1. Clone ComfyUI GitHub Repository
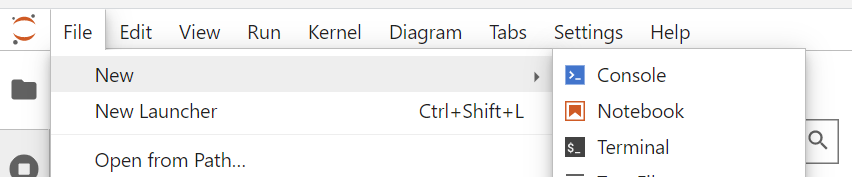
1.1. Open a terminal
1.2. Run the following commands in terminal in this order
2.1. Download the ComfyUI repository
In Terminal, run this command:
git clone https://github.com/comfyanonymous/ComfyUI2.2.1.3. Navigate to the "custom_nodes" folder and download the ComfyUI Manager
In Terminal, run these commands (one after the other):
cd ComfyUI/custom_nodesgit clone https://github.com/ltdrdata/ComfyUI-Manager3. Run ComfyUI
2.1. Open Notebook
the Notebook “comfyui_colab_with_manager.ipynb”
Path: Path: ComfyUI/custom_nodes/ComfyUI-Manager/notebooks/comfyui_colab_with_manager.ipynb
4.2.2. Adapt Notebook for running it on the KITeGG Server
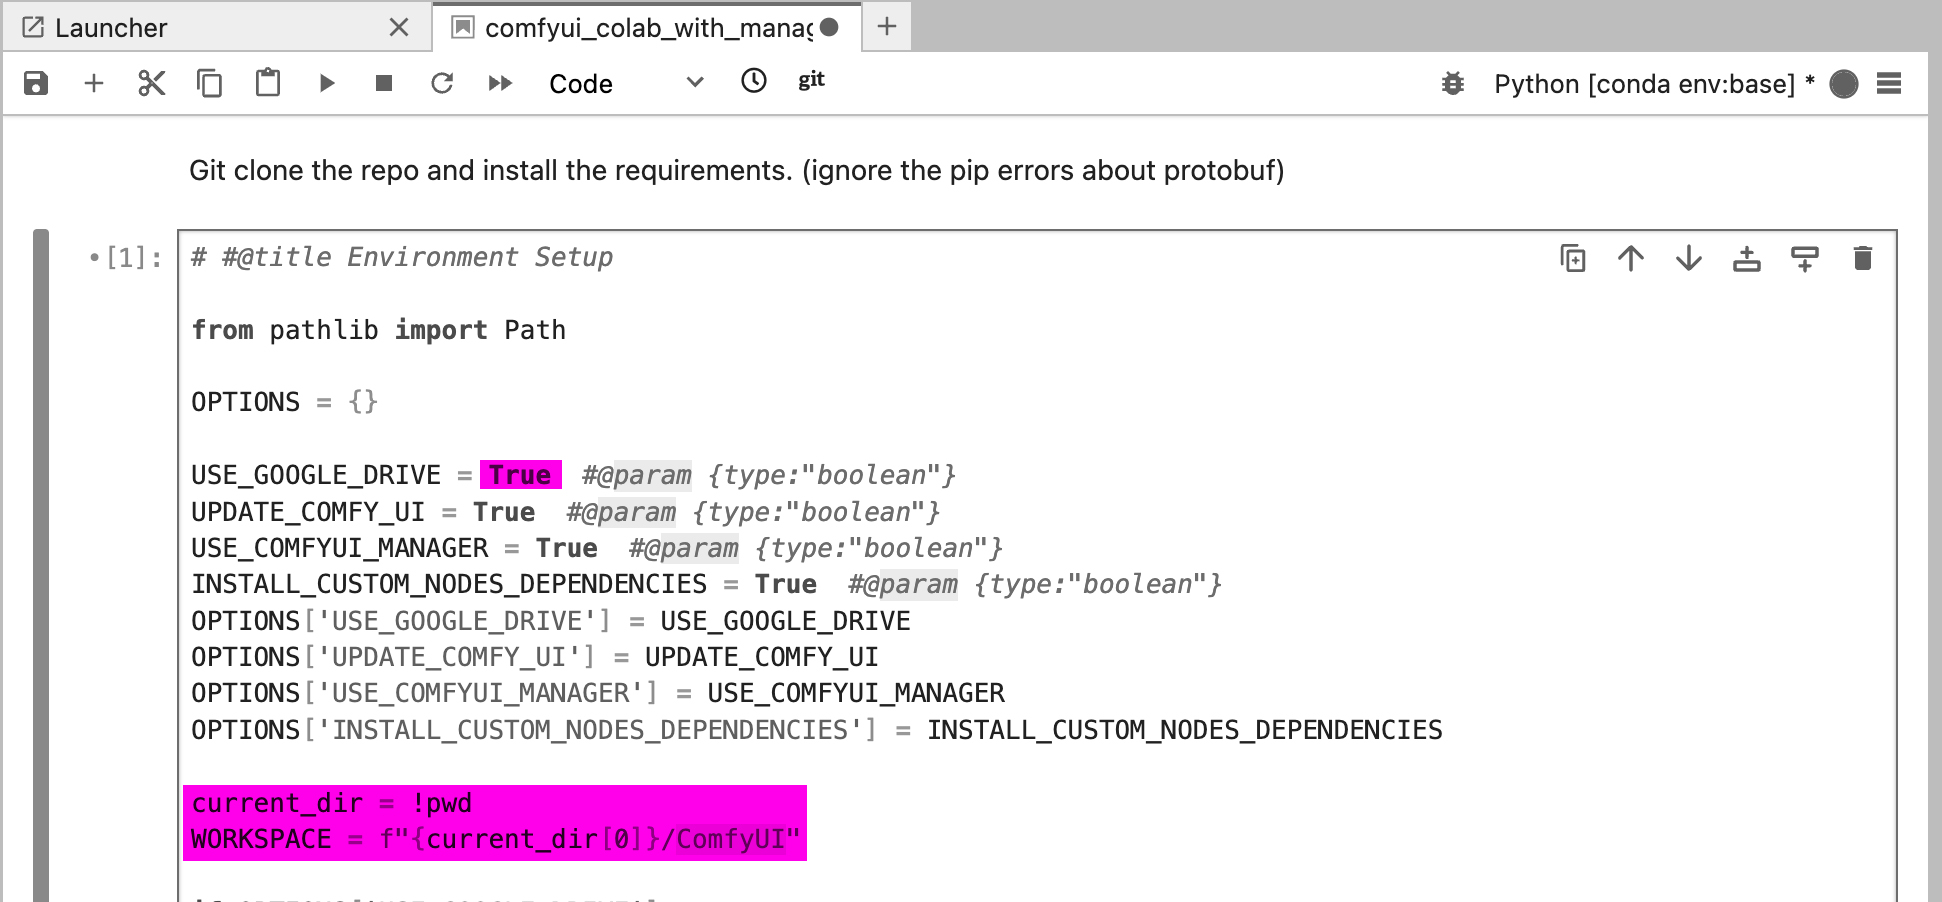
1. Make following changes to the notebook:notebook (pink Markups are going to be changed):
4.1.
a) Disable Google Drive Connection (Set USE_GOOGLE_DRIVE = "False")
Delete:
USE_GOOGLE_DRIVE = True #@param {type:"boolean"}
Paste:
USE_GOOGLE_DRIVE = False #@param {type:"boolean"}
4.2.
b) Change Workspace Location (Set WORKSPACE = '~/ComfyUI')
Delete:
current_dir = !pwd
Delete: WORKSPACE = f"{current_dir[0]}/ComfyUI"
Paste:
WORKSPACE = '~/ComfyUI'
5.2. Check and Run
a) Make sure the code looks like this,this:
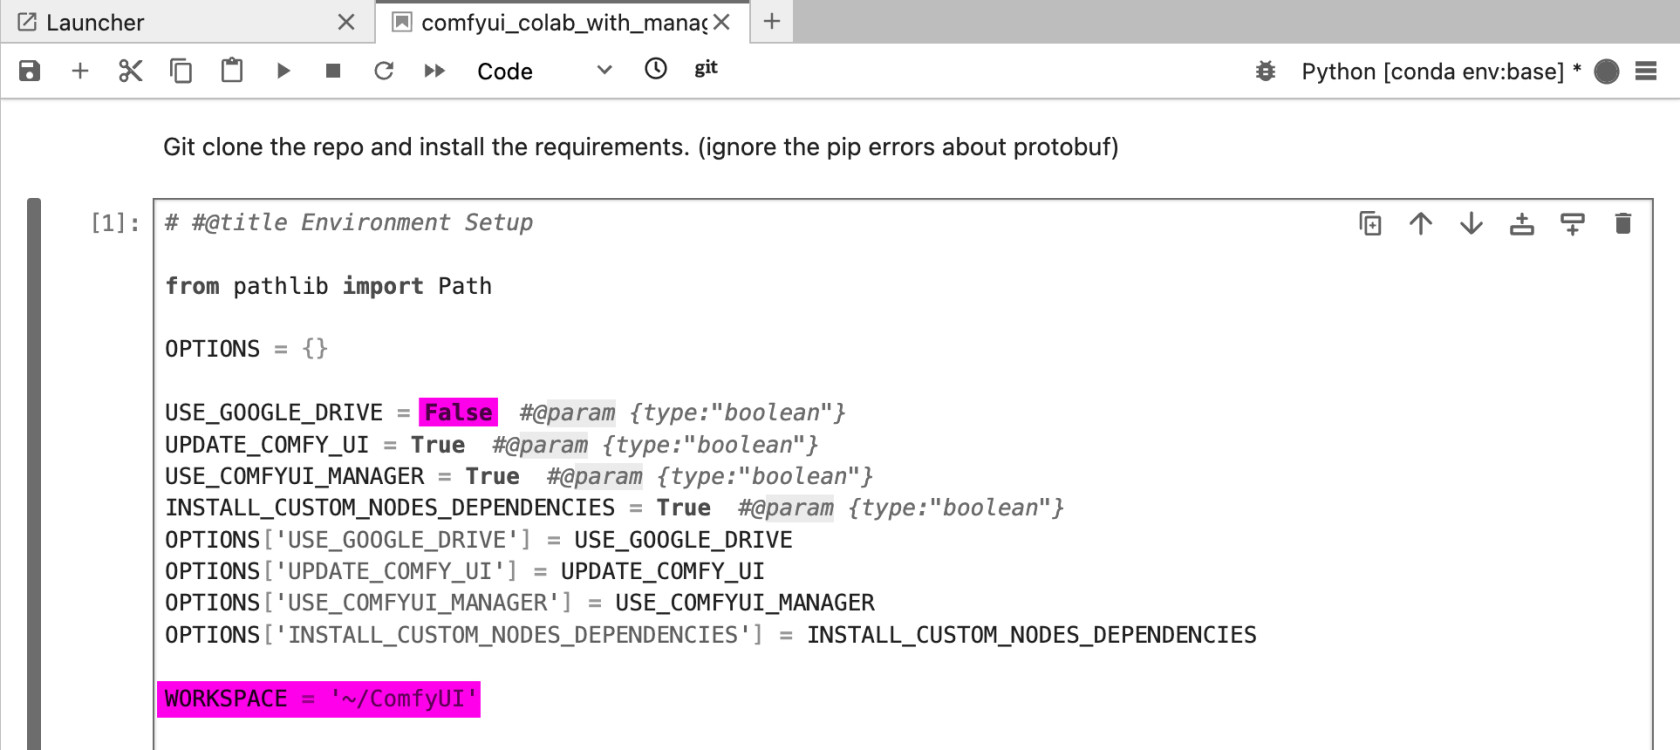
b) save the notebook changes &⌘S
c) run the cell ⇧↵
2.3. Install Models
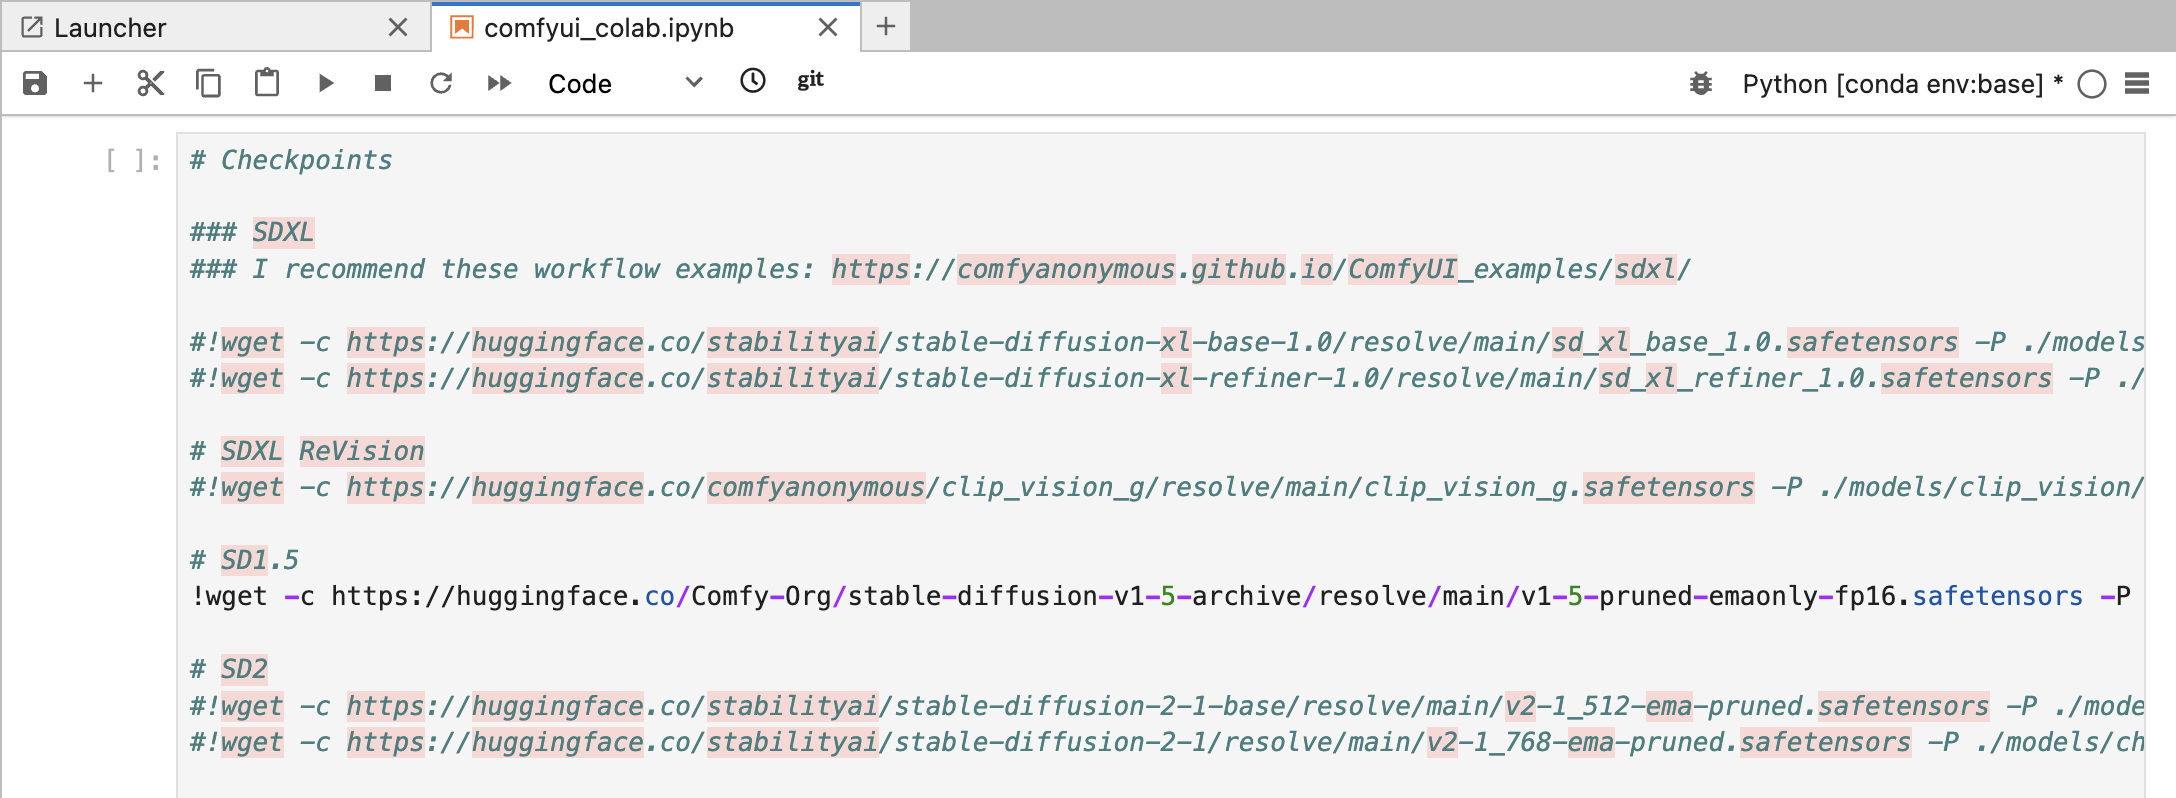
1. Go to the Second Cell

6.2. Uncomment the models you want to install (delete the "#" in front of the lines)
&you can always install more models later
3. run the cell ⇧↵
2.4. Install ControlNet Preprocessor
open Terminal, paste and run code:
cd ComfyUI/custom_nodes/
git clone <https://github.com/Fannovel16/comfyui_controlnet_aux/>
cd comfyui_controlnet_aux
pip install -r requirements.txt
if this does not work, check for updates in the Installation guide at
7.2.5. Open Comfy UI
0. (If you did 2.4.: Go back to the Notebook)
1. Run the last cell "ComfyUI with cloudflared"
and open ComfyUI in the browser
7.1.
2. In the terminal code, search for the URL to access ComfyUI (https://xxxx-xxxxx-xxxx.trycloudflare.com)com) and copy it to your browser.
8.3. At end of use: stop your server (important)!
File > Hub Control Panel > Stop My ServerDeforum Extention (Animation for SD): Installation
Hints
Opening ComfyUI for the second/100th time:
(no Terminal needed)
-
Open the Notebook like before
Path: ComfyUI/custom_nodes/ComfyUI-Manager/notebooks/comfyui_colab_with_manager.ipynb
-
Run All Three Cells (wait for Processes to complete before running next cell)
add more models by uncommenting them in the 2nd cell if you like
-
In the terminal code of the last cell, search for the URL to access ComfyUI (https://xxxx-xxxxx-xxxx.trycloudflare.com) and copy it to your browser.
Tutorial Recommendations:
- (Links zu unseren Tutorials)
- (Links zu unseren Tutorials)
- (Links zu unseren Tutorials)
- https://www.youtube.com/watch?v=LNOlk8oz1nY&list=PLH1tkjphTlWUTApzX-Hmw_WykUpG13eza
Tutorial recommendation: Olivio Sarikas - Learn ComfyUI Playlist (1 - 8)

2. Uncomment the models you want to install (delete the "#" in front of the lines)
you can always install more models later
3. run the cell ⇧↵
2.4. Install ControlNet Preprocessor
open Terminal, paste and run code:
cd ComfyUI/custom_nodes/git clone <https://github.com/Fannovel16/comfyui_controlnet_aux/>cd comfyui_controlnet_auxpip install -r requirements.txtif this does not work, check for updates in the Installation guide at
7.2.5. Open Comfy UI
0. (If you did 2.4.: Go back to the Notebook)
1. Run the last cell "ComfyUI with cloudflared"
URL to access ComfyUI (https://xxxx-xxxxx-xxxx.trycloudflare.(no Terminal needed)
Open the Notebook like before
Path: ComfyUI/custom_nodes/ComfyUI-Manager/notebooks/comfyui_colab_with_manager.ipynb
Run All Three Cells (wait for Processes to complete before running next cell)
add more models by uncommenting them in the 2nd cell if you like
In the terminal code of the last cell, search for the URL to access ComfyUI (https://xxxx-xxxxx-xxxx.trycloudflare.com) and copy it to your browser.